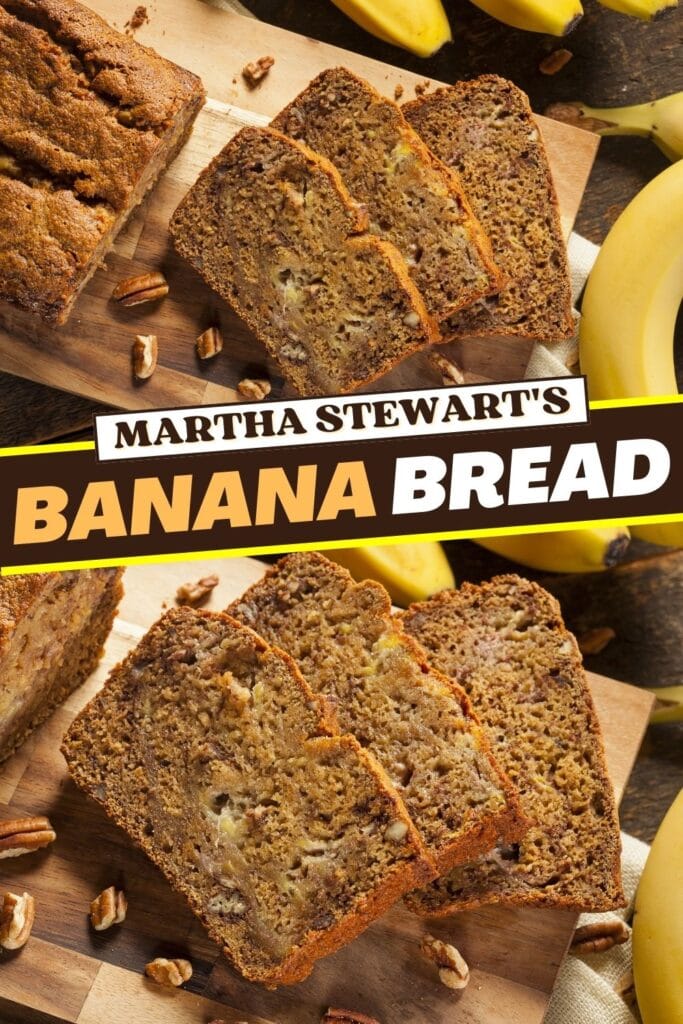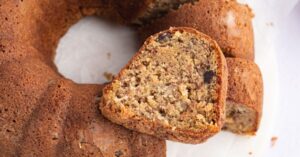

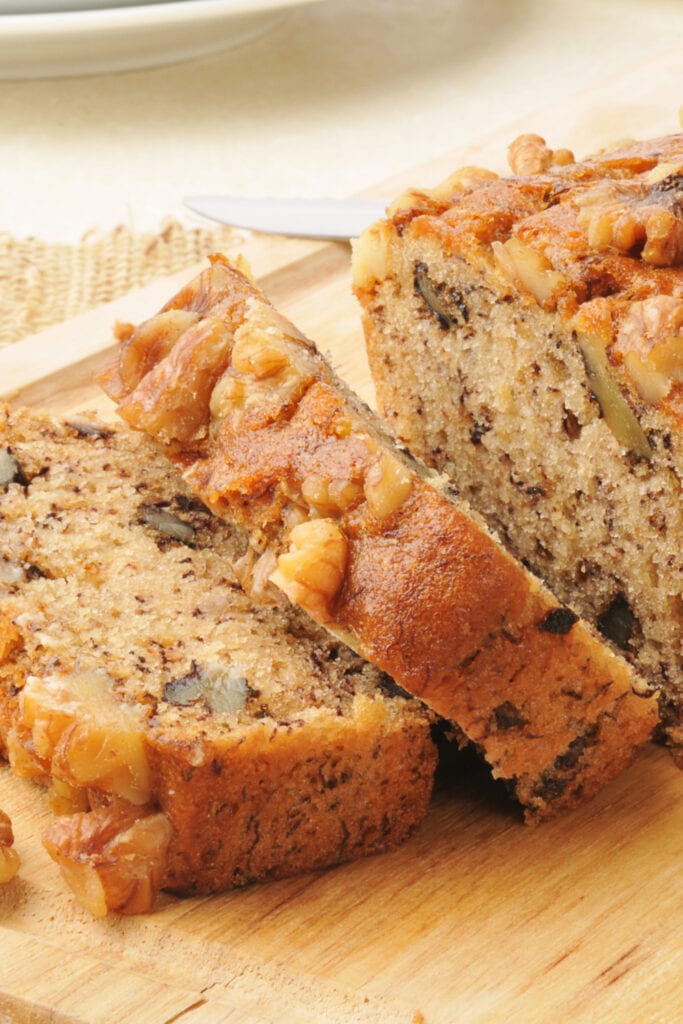
Martha Stewart’s banana bread is outrageously moist, insanely tender, and oh-so-fluffy! The aroma alone is so heavenly it’ll make your mouth water.
Loaded with over-ripe bananas, crunchy walnuts, and scrumptious chocolate chips, this is one banana bread recipe you’ll crave again and again.

Martha Stewart’s Banana Bread
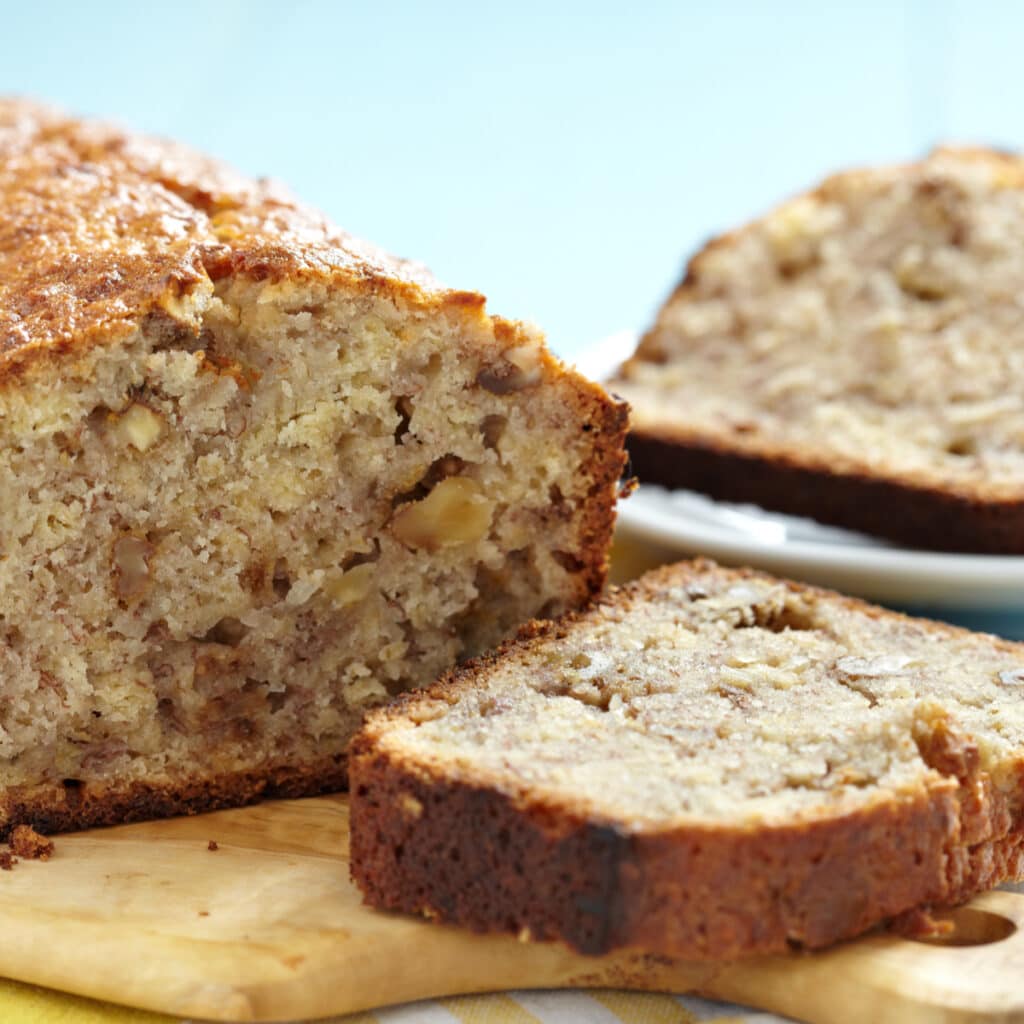
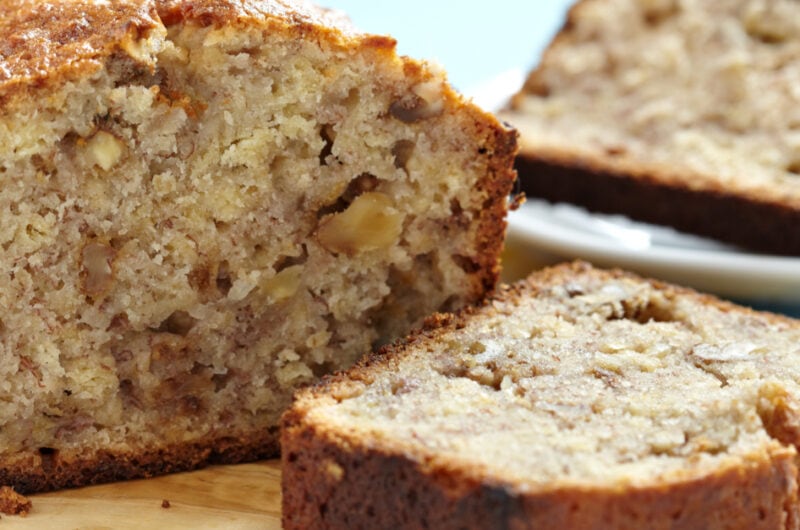
Martha Stewart’s banana bread has a tender crumb and an irresistible flavor.
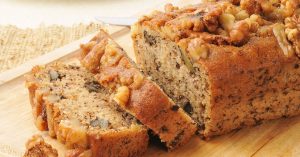
But besides all the banana goodness, this bread also features crunchy walnuts for a lovely textural contrast.
Tender + crunchy = banana bread bliss.
And unlike the usual banana bread that’s topped with cinnamon sugar, this one uses decadent chocolate chips.
Bananas and chocolate are a match made in heaven, after all. And it’s perfect for those who can’t stand cinnamon!

Ingredients
- Butter – For a rich and moist banana bread.
- Sugar – For sweetness.
- Eggs – For binding the ingredients together. They give the bread structure and help make it tender, as well.
- Flour – The base of the bread that gives it structure.
- Baking Soda – The leavening agent that makes the bread rise.
- Salt – For a bit of saltiness to balance the sweetness.
- Very Ripe Bananas – The key to the bread’s heavenly aroma and flavor.
- Sour Cream – Added instead of oil for moisture.
- Vanilla Extract – Flavor enhancer.
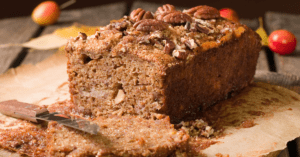
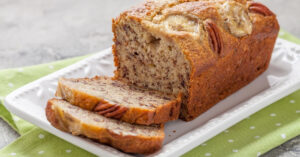
- Walnuts or Pecans – For added crunch and flavor.
- Chocolate Chips – Instead of cinnamon sugar, this banana bread is topped with chocolate chips.
How to Make Martha Stewart’s Banana Bread
It’s easy as 1-2-3!
1. Cream the butter and sugar.
This is the technical term for beating together softened butter and sugar to incorporate air pockets in the mixture. These air pockets then help give baked goods, such as banana bread, structure.
If you’re using a stand mixer, you’ll want to use the paddle attachment. But a handheld whisk is fine, too.
Either way, ensure you beat them until the mixture is light and fluffy, about 5 minutes.
2. Beat in the eggs.
Do this one by one, beating after every addition until the eggs are well-incorporated into the mixture.
3. Sift in the dry ingredients.
The flour, baking soda, and salt should be sifted to help them blend together. It also ensures no lumps of flour or baking soda get stuck in the batter.
4. Add the mashed bananas, sour cream, and vanilla.
This time, use a rubber spatula to mix the ingredients. You want to be careful in mixing at this point, as an overmixed batter will yield a dry and rubbery bread.
Stir in the nuts – again, doing so very gently.
If you choose to do this in the stand mixer, keep the paddle attachment and just set it to the lowest/slowest setting available.
5. Pour the batter into the pan.
Be sure the pan is greased well with either butter or non-stick spray for an easy cake release.
I also like to add a layer of parchment to the bottom to keep the chocolate from sticking and burning.
6. Top the batter with chocolate chips.
If adding chocolate chips, lightly coat them with flour to keep them from sinking to the bottom.
7. Bake the batter for 1 hour at 350 degrees Fahrenheit.
You’ll know the bread is done if a toothpick inserted into the center comes out clean.
8. Cool the bread.
Let it sit in the pan for 10 minutes to help cook it further. Then, transfer it onto a wire rack to cool completely.
Slice, serve, and enjoy!
Tips and Tricks for the Best Banana Bread
- The secret to a banana bread’s phenomenal flavor is over-ripe bananas. I’m talking dark-peel, mushy, overly sweet bananas! The blacker the banana peel, the better the bread.
- Mash the bananas well, so you don’t get bits of slimy banana in your bread. This shouldn’t be so difficult, considering the bananas are already mushy to begin with. You can use a fork for this step, or to make things easier, just give it a quick blitz in the food processor.
- Measure the flour accurately. Adding too much flour to the batter will result in dry and dense banana bread. The best way to measure it is with a kitchen scale.
- If you don’t have a kitchen scale, use the spoon and level method. Instead of packing the measuring cup with flour, use a spoon to transfer the flour into it, and then level it down with the back of a knife.
- Be sure the baking soda is active by checking the expiration date, or else the banana bread won’t rise. If you’ve already removed it from the box, perform a potency test by dropping a teaspoon of baking soda into 2 teaspoons of vinegar. It should start to fizzle and foam up upon contact. If nothing happens, throw it away.
- Don’t overmix the batter; otherwise, the bread will be dry and rubbery. Once the wet and dry ingredients are combined, mix them gently just until they are well incorporated.
- Don’t overbake the bread and stick to the prescribed temperature. If you’re using an old oven, put a kitchen thermometer inside so you can monitor and adjust the temperature.
- At the same time, don’t take the bread out of the oven too soon. Underbaking will lead to a sunken center.
- Check for doneness 5 minutes before the prescribed baking time. You’ll know it’s done when a toothpick inserted into the center comes out clean or with bits of moist (not wet) crumbles sticking to it.
- While the nuts and chocolate give the bread added flavor and texture, this recipe works even without them. Or, try adding other fun extras, like a swirl of Nutella or peanut butter!
- Don’t let the bread stay in the pan for too long; otherwise, it will get a soggy bottom. Just 10 minutes will do, or just until it’s cool enough to handle.
How to Ripen Bananas
If your bananas aren’t ripe enough, here are some ways to speed up the process:
- Pop the bananas with the skins in the oven. Bake for 15-20 minutes at 250-300 degrees Fahrenheit.
- Peel and microwave the bananas for 30 seconds or until you hear them sizzle. This will only soften the bananas, though, but won’t necessarily make them sweeter. That said, this technique is perfect for bananas that are already slightly ripe.
- Leave the bananas sitting on the counter in the hottest area of your house, such as on the window sill or on top of the fridge. Place them on a plate to keep them from seeping onto the counter.
- Place them in a paper bag with a few ripe apples. The ethylene in the apples will help ripen the bananas faster.
Banana Bread Variations and Substitutions
- Healthy Banana Bread – reduce the sugar to 3/4 cup and use plain Greek yogurt instead of sour cream. Skip the chocolate chips.
- Orange Banana Bread – add a tablespoon of grated orange rind to the batter.
- Holiday Banana Bread – add dried cranberries for Thanksgiving or Christmas-themed bread.
- Hawaiian Banana Bread – add crushed pineapple to the batter.
- Extra-Indulgent Banana Bread – add a swirl of salted caramel and peanut butter chips! Yum!
Storage Instructions
Let the banana bread cool completely on the wire rack before storing. Then, wrap it in plastic wrap or foil, or place it in an airtight container.
You can leave the banana bread on the countertop, where it’ll keep well for about 3 to 4 days.
You can also refrigerate it for a longer shelf-life of 7 days.
How to Freeze Banana Bread
Pop it in the freezer if you want to keep it around much longer.
Wrap completely cooled banana bread in plastic wrap or foil and place it in a freezer-safe bag. Freeze for up to 3 months.
You can either wrap the whole bread or slice it up first and wrap individually. I like the latter method because it allows me to take out just a few slices at a time.
To serve, thaw the bread in the fridge overnight or at room temperature until it softens.
More Banana Bread Recipes You’ll Love
Deliciously Moist Banana Bread
Starbucks Banana Bread
Bisquick Banana Bread
Hawaiian Banana Bread
Jamaican Banana Bread
Martha Stewart’s Banana Bread (Easy Recipe)
8
servings15
minutes1
hour15
minutes300
kcalMartha Stewart’s banana bread is outrageously moist, insanely tender, and oh-so-fluffy! The aroma alone is so heavenly it’ll make your mouth water.
Ingredients
1/4 pound 1/4 (1/2 cup) unsalted butter, softened
1 cup 1 sugar
2 2 eggs
1 1/2 cups 1 1/2 flour, plus more for coating the chocolate chips
1 teaspoon 1 baking soda
1 teaspoon 1 salt
1 cup 1 mashed very ripe bananas
1/2 cup 1/2 sour cream
1 teaspoon 1 vanilla extract
1/2 cup 1/2 chopped walnuts or pecans
1/4 cup 1/4 chocolate chips, optional
Instructions
- Preheat the oven to 350 degrees Fahrenheit. Grease a 9x5x3-inch loaf pan with non-stick spray or butter.
- To a large mixing bowl, add softened butter and sugar. Beat with an electric mixer at medium speed until light and fluffy, about 5 minutes.
- Add the eggs, 1 by 1, beating until well-combined.
- Sift in the flour, baking soda, and salt. Beat just until combined, about 1-2 minutes.
- Add the mashed bananas, sour cream, and vanilla. Mix with a rubber spatula, then stir in the nuts.
- Pour the batter into the greased pan. Coat the chocolate chips lightly with flour, if using. Sprinkle floured chocolate chips over the batter.
- Bake for 1 hour or until a toothpick inserted into the center comes out clean. Let the bread cool in the pan for 10 minutes, and then transfer it onto a wire rack to cool. Slice, serve, and enjoy!